May 04, 2020
Self-hosted, cookieless analytics for free
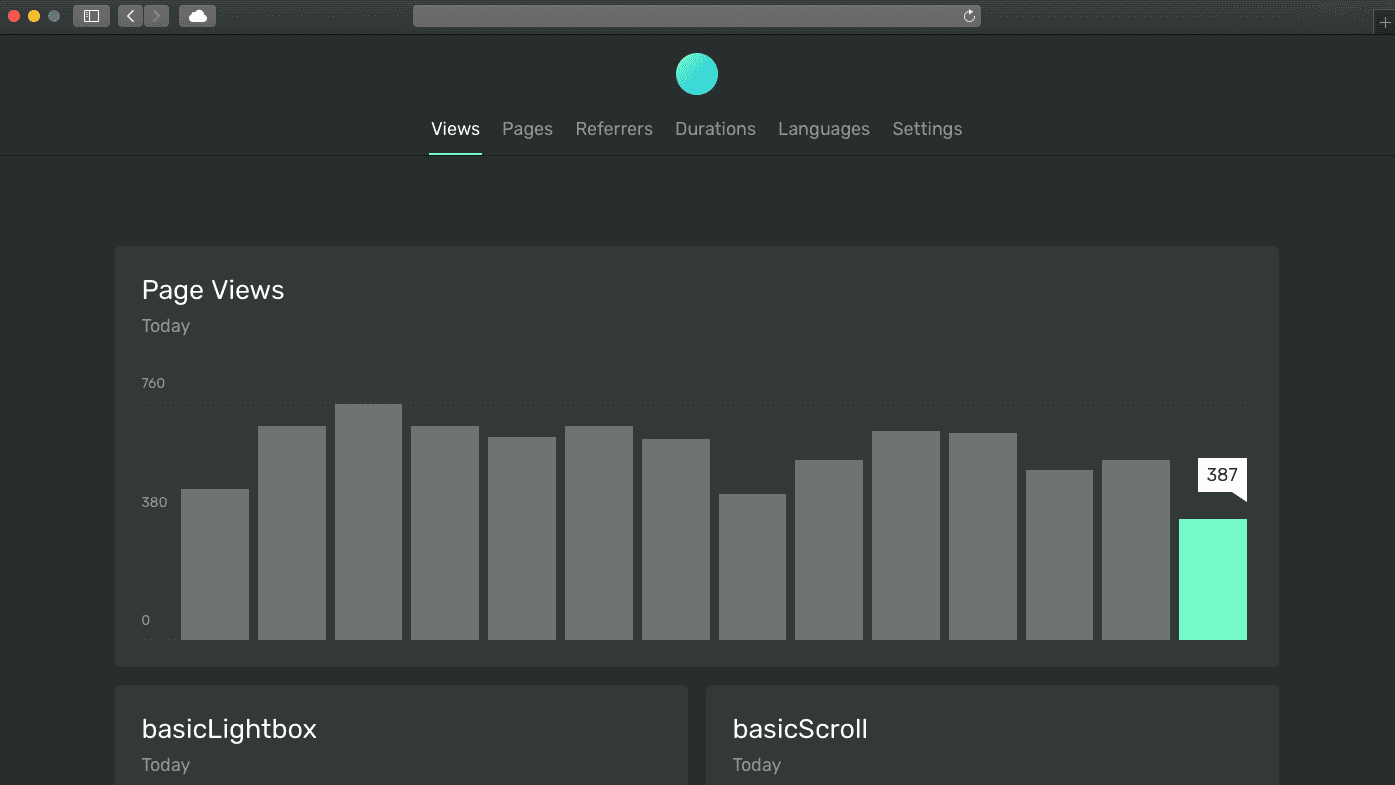
Cover image is copied from the Ackee’s GitHub repo
Why?
Most sites I’ve built are using Google Analytics (GA), the free and very feature-rich website analytics tool. It’s easy to set up and shows real time data on complex charts. But GA tracks the users more extensively than I need for a personal blog. It also requires a strict privacy policy and users need to accept that notice to let the tracking start.
I did think of the “No tracking” option. The browsers’ tracking blockers make client-side trackers less and less accurate. However, seeing even a little bit (maybe not-that-accurate) activity on my site still motivates me to keep going with it.
Another option was server-side analytics. They are fast, private and accurate. But for a non-profit personal blog with very few visitors it simply isn’t worth paying $7-9/mo to see the stats.
Goals
I defined what would be the ideal tracking for my site:
- Open source
- Does not use cookies (no cookies -> no cookie policy overhead)
- Cheap (possibly free) hosting
My choice
When I was searching for alternatives I found Alec Brunelle’s Quit Google Analytics and use self-hosted Gatsby statistics with Ackee post on Medium. I tried Ackee’s demo and it collects exactly the data I need.
So I decided to try:
- Analytics tool: Ackee (✅ open source; ✅ no cookies)
- Hosting: Google Cloud Platform’s (GCP) always free tier (f1-micro)
I tried to deploy to Heroku (as Alec did in his post) but as Heroku asked for my credit card data, I was not sure if it can run on a free dyno. Or maybe I’ve just reached the free limit with other hobby projects.
Steps
Set up the Virtual Machine (VM)
During the VM creation GCP asked for my credit card details but promised not to charge without permission. They gave $300 free credit for the first year, too.
The services I’m using cost $0.00 / mo.
It’s up and running for 8 days now and billing report shows $0.00 for this month. I still have all of the $300 free credit.

- Log in to Google Cloud Platform: https://console.cloud.google.com/getting-started
- Create project (name could be anything you want)
- Go to Compute Engine >> VM Instances

-
Enable free tier
-
Create new VM: for the always-free, select:
us-central1(Iowa) region (us-west1andus-east1is free, too)f1-micro(1 vCPU, 0.6 GB memory)- Debian 9 (other Linux distro could also work but make sure to use one with free license if you want to keep it free)
- “Allow full access to all Cloud APIs” access scope
- Enable both HTTP and HTTPS traffic on the Firewall

- Reserve Static IP: go to VPC network > External IP addresses on the GCP dashboard, then select the instance and hit “Reserve Static Address” in the top bar.

Install Ackee
- SSH to the VM in the web by clicking the SSH button in the instance list of the VM Instances page.
- Install Node 12 LTS (code is copied from here)
# Using Debian, as root curl -sL https://deb.nodesource.com/setup_12.x | bash - apt-get install -y nodejs - Install yarn
npm install -g yarn - Install Mongo DB: follow the instructions in their official docs. For me it worked without any issue, here are the commands:
wget -qO - https://www.mongodb.org/static/pgp/server-4.2.asc | sudo apt-key add -
echo "deb http://repo.mongodb.org/apt/debian stretch/mongodb-org/4.2 main" | sudo tee /etc/apt/sources.list.d/mongodb-org-4.2.list
sudo apt-get update
sudo apt-get install -y mongodb-org
sudo systemctl start mongod
sudo systemctl status mongod # just to see if it works
sudo systemctl enable mongod # start mongo after reboot
Make the site available
-
Set a domain: my domain uses a different DNS provider. I just created a subdomain and set an
Arecord that points to the VM’s reserved static IP address. -
Install NGINX (I used this instructions)
sudo apt-get update sudo apt-get install nginx sudo systemctl enable nginx -
Set NGINX config, details here
-
Install Certbot for Let’s Encrypt (more details here)
sudo apt-get install certbot python-certbot-nginx sudo certbot --nginx sudo certbot renew --dry-run # To test automatic renewal -
Run the app as a service: I followed these instuctions.
Create the file
/lib/systemd/system/ackee.servicewith the following contents:[Unit] Description=Ackee App After=network-online.target [Service] Restart=on-failure WorkingDirectory=/home/nandor/Ackee ExecStart=/usr/bin/node src/index.js [Install] WantedBy=mutli-user.targetReload daemon
systemctl daemon-reloadLet it run on reboot
systemctl enable ackee
Trial and error
First I wanted to run the Dockerized app in the f1-micro instance. I used the Container-optimized OS. But it seems that ~580 MB RAM is not enough to run the Mongo DB and the Ackee containers at the same time (+ an nginx reverse proxy + the GCP’s logger container).
After struggling for a few hours I decided to try to install the apps directly to Debian. This way everything worked on the first try.
Conclusion
Well, I’ve spent several evenings to move my analytics from Google Analytics to another Google service (Google Cloud Platform). It’s still Google, but the data now is inside a VM’s database, not in GA directly.